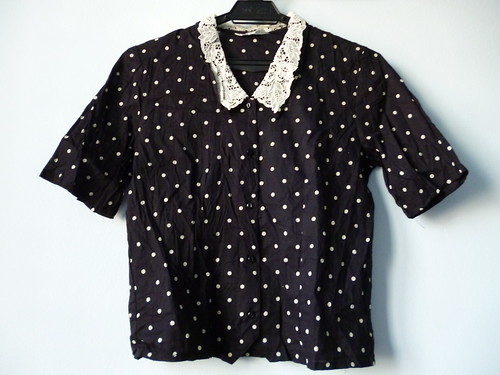
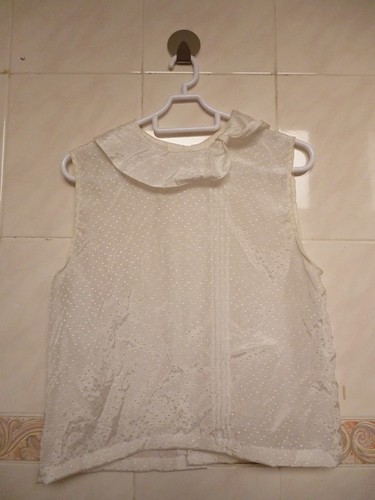
Bored with the same old top and wanted to give it a second life? This little project might be for you. I have decided to chop off some length and detach the sleeves to give one of my vintage tops a whole new and fresh look. Ready? Here we go...
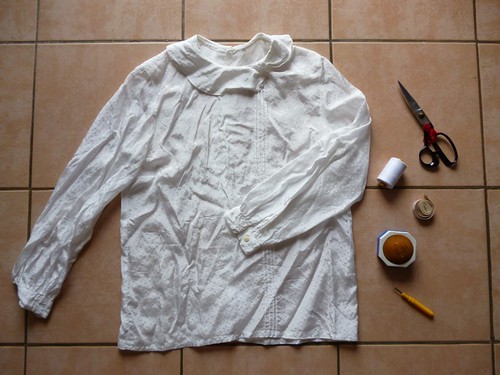
What you need:
A top
Scissors
Pins
Seam ripper
Thread
Measuring tape
Tailoring chalk (not in the above photo)
Tracing paper (not in the above photo)
Tracer (not in the above photo)
Sewing machine
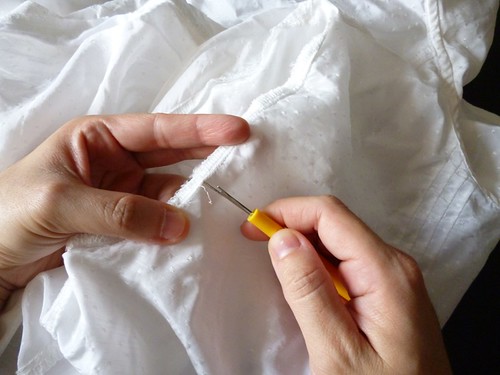
Reverse the top from right side to wrong side. Detach the sleeves using seam ripper.
Using measuring tape, measure how much allowance to take in on the shoulder. In my case, it is 1 inch. This step is optional, ignore this step if the shoulder fits well.
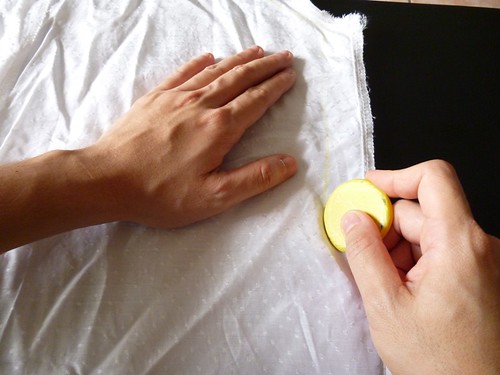
Draw new armhole line following the old line using tailoring chalk.
For the other side, use tracing paper and tracer to mark stitching line.
As the top is slightly big for me, I reduce side seams by marking new seams.
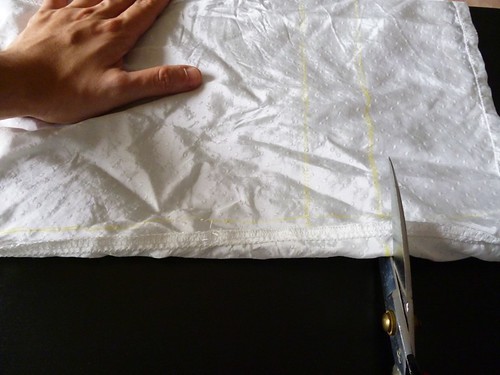
Mark new length for the top. Remember to leave about 1.5 inches as allowance.
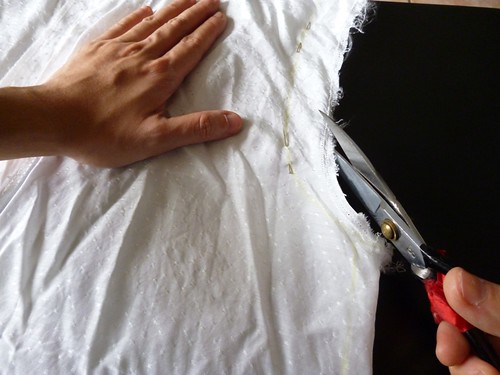
Leave about 1.5 cm allowance and cut the excess fabric.
Cut excess fabric on the bottom of the top.
Cut excess fabric on the side seams and pin on the marked line.
Following the marked line and pins, sew accordingly.
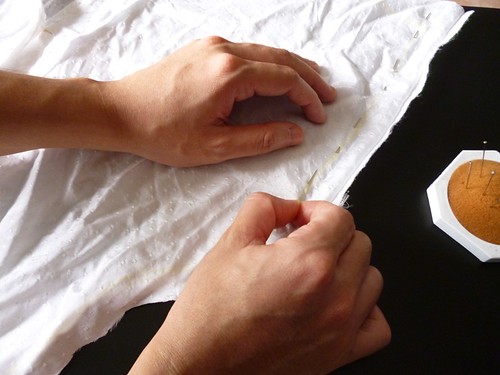
Fold allowance on an arm hole and pin accordingly based on the marked line.
Sew accordingly on both arm holes.
Repeat for the bottom part
'New' top
Here is the finished top. Looks good, no? I can't wait to wear it. Hope this little project helps you in anyway and do drop me an email if you have questions in regards to this project.
Have a great weekend everyone!

