Showing posts with label fashion project. Show all posts

Sunday, January 18, 2015

fashion project: diy beaded collar top

I am happy to start working on some DIY fashion projects again. So, here is the first fashion project of the year; a DIY beaded collar top. This is a relative easy fashion project especially for those who know how to sew with a needle. And you can do this whilst watching the telly or listening to the radio (multi-tasking is good, no?)


what you need

What you will need: 

Various sizes of faux pearls/beads
Sequins (recommended)
Crystals (optional)
A pair of scissors 
Thread
Needle
A top 

beading

This is a random beads pattern, hence sew or bead as you like.

beads

Here is a close-up on the beads.

finished  collar

The finished collar!

What do you think of this project? Easy peasy? Hope you will give it a try.

Happy trying and till the next entry, stay chic!


Monday, May 13, 2013

fashion project: blouse makeover

Happy Monday and hope no one catches Monday blues. If anyone did, well I hope you feel better soon after a nice cup of coffee, tea or perhaps after reading this fashion project. Why? At times, we feel like we have nothing to wear whilst there are many (many, many) clothes in our wardrobe and since there are many (not going to stress the quantity again) clothes, we try very hard not to shop... but still aching to window shop or shop. Here is a little makeover blouse project to update an old top, giving a fresh new look. Save some bucks for shopping or travel fund.

Ready?...


before
an old top, ready for a makeover


what you need

What you need:

Ruler
A pair of scissors
Measuring tape
Tailoring chalk
Pins
Bias tape 
Seam ripper 
Sewing machine (not in the above photo)


detach shoulder pad
Using a seam ripper, remove shoulder pads.

measure sleeve length
Turn the top to the wrong side. 
Measure desired sleeve length and mark with tailoring chalk.

mark the length
Using a tailoring ruler, mark the allowance and length on the sleeves on both sides.


cut
Cut the excess fabric using a pair of scissors.

attach bias tape
Now, turn the top over and work on the right side of the top. 
Pin bias tape along the marked sleeve length.

sew
Sew the bias tape onto the sleeve.

cut excess fabric
Cut the excess fabric and then fold the remaining bias tape inside towards the wrong side. 
Pin and sew accordingly.

repeat for the other sleeve
Repeat for the other sleeve.

repeat for collar
Repeat for the collar.

after 
Here is the finished blouse

What do you think of this project? Difficult or easy? Hope this helps to inspire anyone to update their old tops instead of just chucking it straight into recycle bin. Hope you will give it a try and do let me know if you have any questions or feedback on this project. 

Have a good and productive week ahead. Always stay stylish and chic!

Wednesday, January 2, 2013

fashion project: brooch of interest

Here is the first fashion project for 2013. A simple project; brooch of interest. Why it is called brooch of interest? Well, you can decorate the pin / brooch with the charms you like. In my case, I love sewing so I have a sewing machine, a pair of scissors and a tiny bit of measuring tape charms.

Here is how to make the brooch...

what u need

You will need: 

Pin / Brooch 
Small rings
Charms 
Plier
Ribbon
Lace
Safety pin 
Thread
Needle


1

Using the small rings, loop it to the each desired charms.

2

Attach these charms to the pin / brooch and secure them using pliers.

3

Make two bows using ribbon and lace and stitch the ribbon on top of the lace bow.

4

Attach the bows onto the pin / brooch.

5

This is optional step. As I find the actual pin / brooch causes an obvious hole when pinning onto clothes, I have decided to add a safety pin on the back of the pin / brooch.

finished product

Ta da... this is the finished pin / brooch. 

What do you think of this project? Pretty simple, right? You can make this as a gift too as long as you know what your friends fancy. 

Happy trying!

Tuesday, June 19, 2012

fashion project: from one-piece to two-piece


before

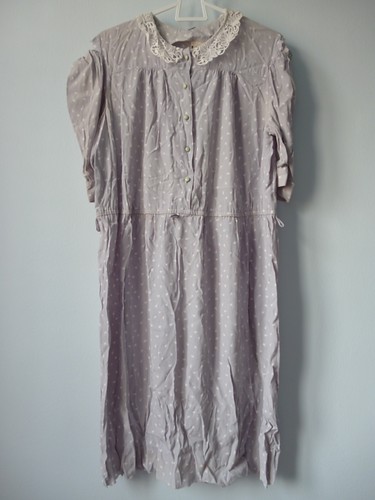
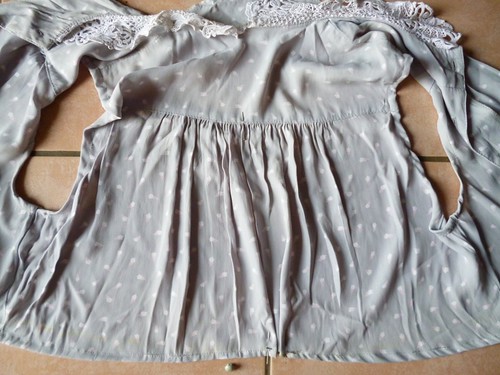
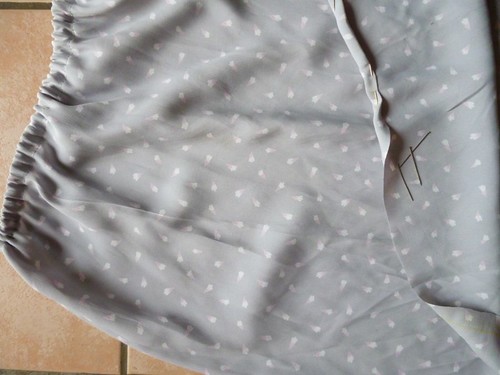
I found this vintage dress in one of my unpacked boxes weeks ago. The dress was in quite good condition beside the sleeves. They were ripped from its armholes. Just when I needed to be inspired for fashion project, I came across with Blooming Leopold's sewing Saturday's entry; creating co-ord playsuit from a maxi dress. And the rest was history... 
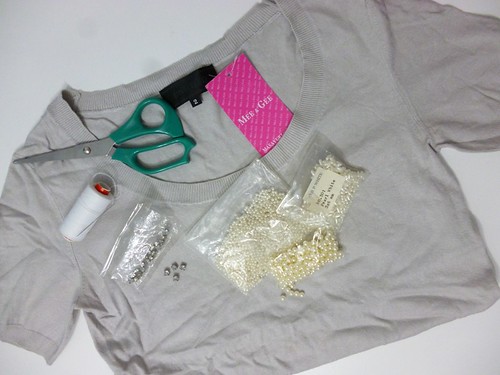
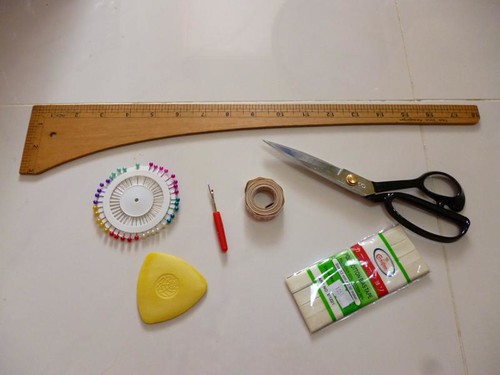
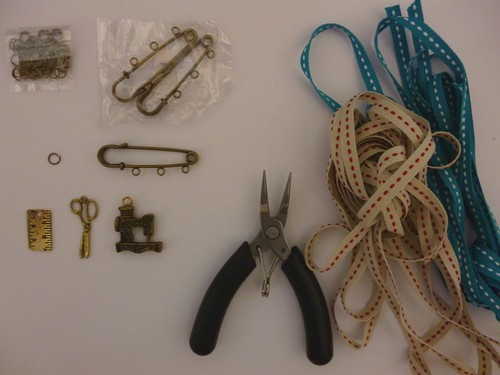
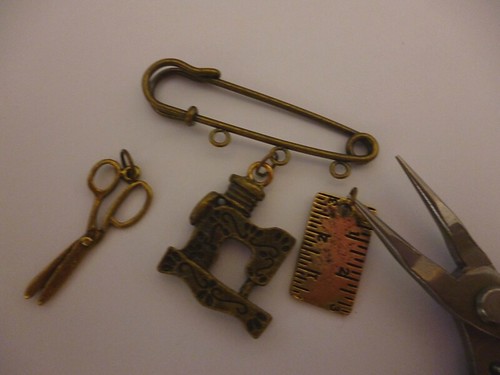
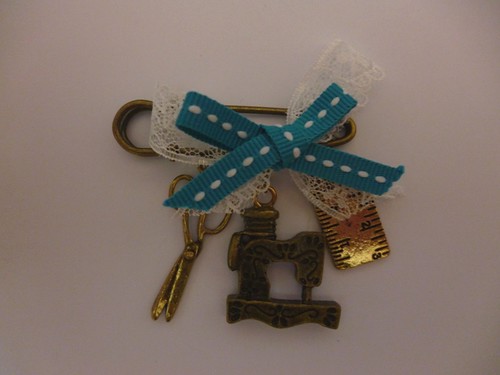
what u need

What you need:

A pair of scissors 
Tailoring chalk
Tailoring ruler
Seam ripper
Elastic band
Pins
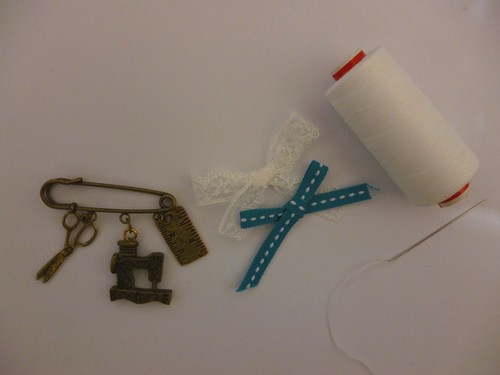
Thread (not in the above photo)
Safety pin (not in the above photo)
Sewing machine (not in the above photo)

1 remove sleeves

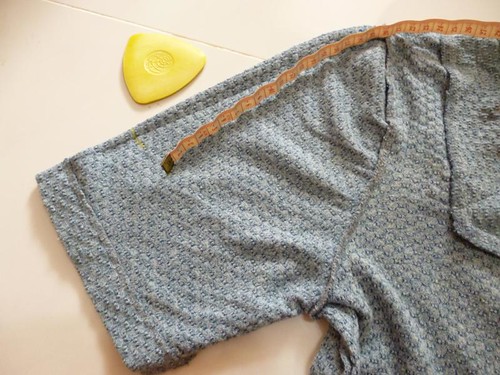
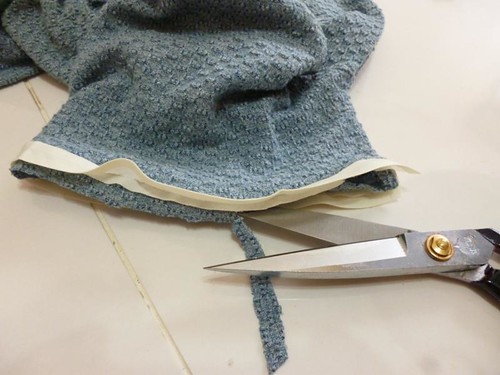
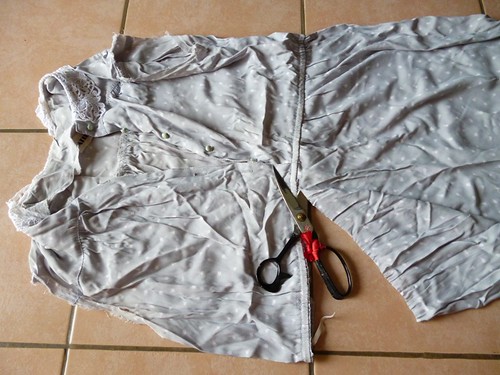
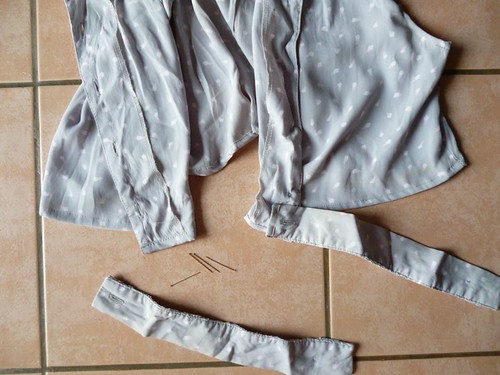
Remove and keep the sleeves aside.

2 separate top n skirt

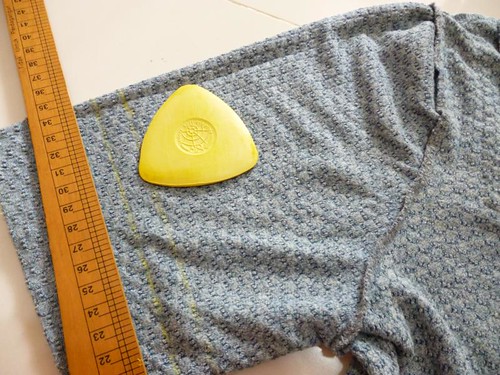
Cut the dress into two parts; separating the top from the skirt.

3 mark new length

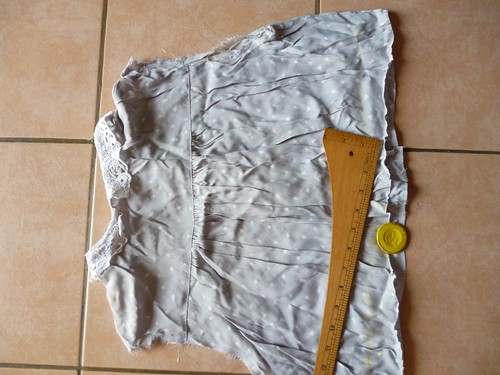
Mark new length of the top.

4 cuffs

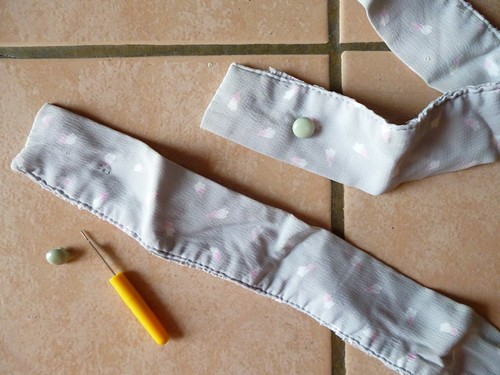
Cut cuffs from the sleeves and remove the buttons.

5 pin armholes

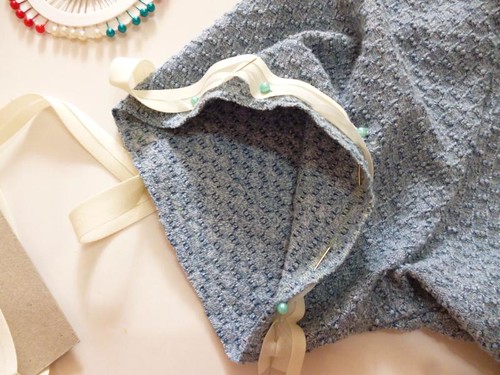
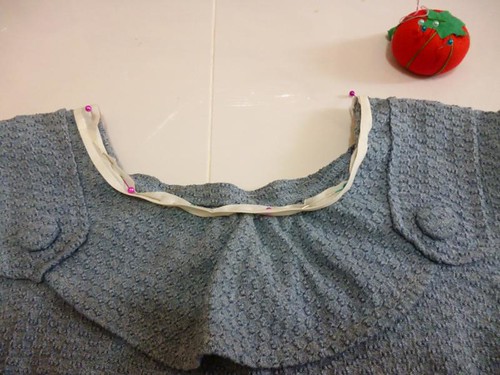
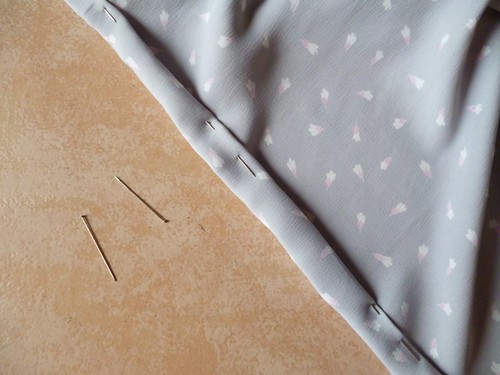
Pin the allowance around the armholes into the wrong side of fabric.

6 pin bottom of top

Pin the bottom of the top.

7 sew

Sewing time. Sew the armholes and bottom of the top.

8 iron

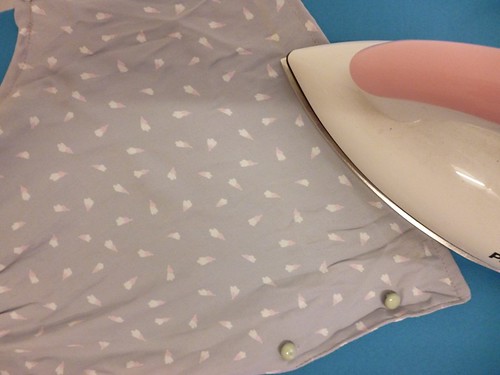
Iron newly sewn parts.

9 add button

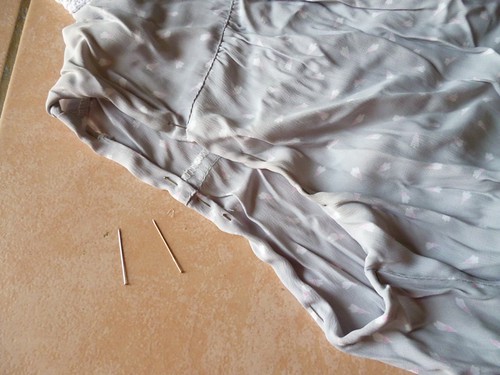
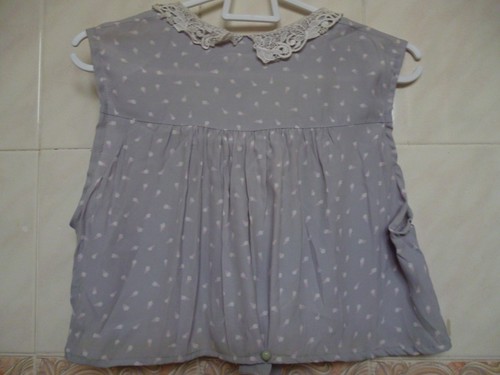
As the back is quite baggy, make an inverted pleated to take in some excess fabric. To decorate the pleat, add a button (optional).

10 add cuffs

Reuse the cuffs as extension of straps from the top.

12 mark new length for skirt

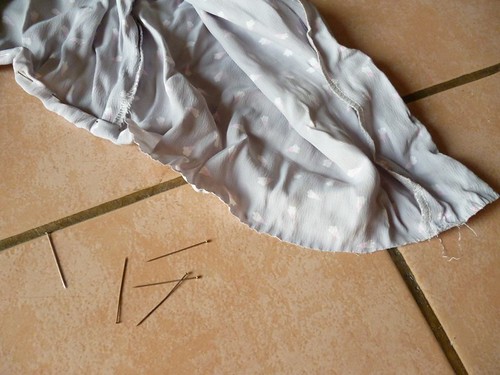
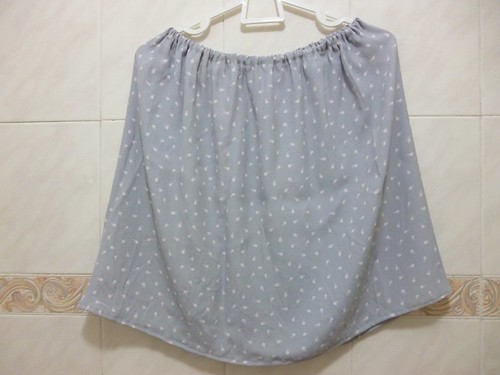
Now, let's work on the skirt. Cut off uneven fabric (if there is any). Mark new length for the skirt. 

13 making elasticated waist

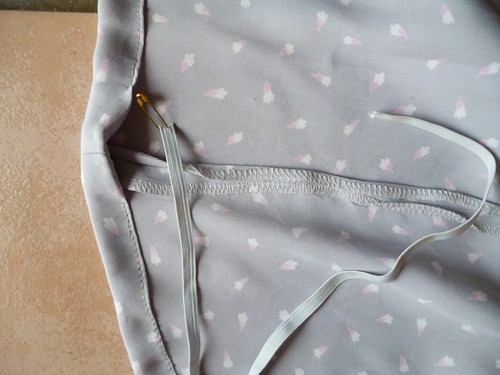
Fold about 1.5 cm to 2.0 cm of fabric at the waist part of the skirt into the wrong side of the skirt. Pin and sew around the skirt but leaving about 2.0 cm at the end. 

14 thread the elastic

Measure the elastic band by stretching it on the waist of the skirt. This is for one side, remember to repeat this step again to cover the other side. Leave some allowance to sew both ends of the elastic band together. Pin a safety pin at the end of the elastic band and start threading. 

15 pin hem of the skirt

Pin and sew the hem of the skirt.

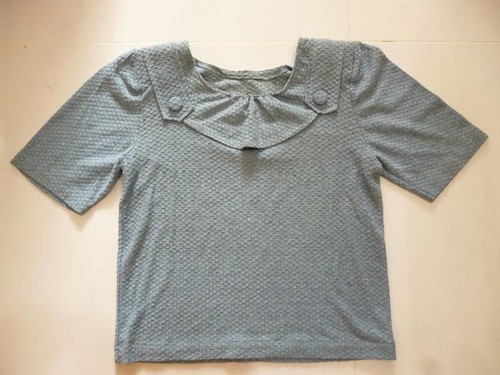
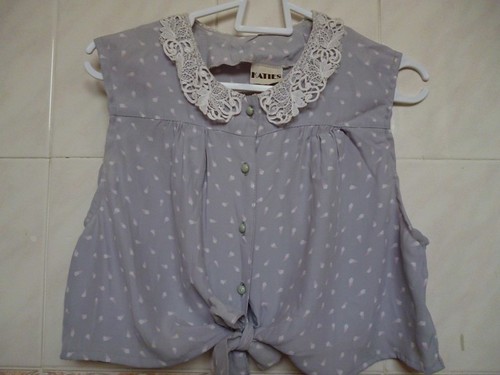
Here are the finished look:

finished top

finished top back

finished skirt

What do you think? Adorable outfit? It is a simple project but involves many steps. Hope this does not hinder anyone to give it a try. Happy sewing!

Tuesday, March 29, 2011

Fashion project: DIY seamed stocking (first attempt)

I have tried to look for seamed stockings in KL (and even in Hatyai) but to no avail. Until I read a post by Penny Dreadful Vintage which highlighted post on DIY seamed stocking by Vintage in a Modern World. At last, I could try making it myself! Here is my first attempt:

Try on used pair of stockings.

Turn it inside and iron (not too hot) on the sides. This provides a guideline to sew a seam.

Here, I improvised a bit. I layered at the bottom of the stocking with a strip of paper. This made it easier to sew.

Tear the strip of paper slowly. The stocking is ready!

My first attempt. Need loads of practise.

Hope you will give it a try. Happy sewing!

Tuesday, March 22, 2011

Fashion project: Handmade pillbox hat

I am a bit obsessed with hats at the moment. Maybe it is easier to sew compares to clothes. I could not wait to try making pillbox hat. And I could not resist the ones posted on etsy either. Too tempting yet I am broke. However, being broke does not stop me from trying to make it myself. Enough said about that and let's get down to business...

The pattern

Things you need:

Felt
Thread
Bias tape
Tulle but I would suggest to get birdcage veil or Russian / French net
A pair of scissors
Pins

Step 1 - place the patterns on felt. Take note of folded part.
Step 2 - pin the opening of the strip, allowance 5/8 inches.
Step 3 - sew the pinned part / seam.
Step 4 - attach and pin the crown part with the stitched strip.

Step 5 - sew the pinned part.
Step 6 - using scissors, cut out little triangles around the seam.
Step 7 - top-stitch the seams.
Photo 8 - this is how the seams would look like.

Step 9 - using bias tape, pin around bottom of the hat.
Step 10 - sew around the around.
Photo 11 - fold the bias tape towards to inner part of the hat and pin around the hat. sew around the hat again. The hat should look like this.
Step 12 - sew few stitches on each side of the hat.

Step 13 - punch a small hole beneath the stitches sewn earlier. These holes are for bobby pins to go through.
Step 14 - fold one end of the tulle to make gathers. Stitch to secure it.
Step 15 - place the tulle over the hat and pin. Cut the tulle according to the desired length and shape.
Step 16 - stitch the gathers on the hat and some bits to safely secure the tulle on the hat.

Step 17 - make a bow from felt and place it over the gathers part of the tulle.
Photo 18 & 19 - the finished pillbox hat.

The outcome of the hat is quite ok as this is my first attempt making a pillbox hat. Now, I am planning to make more in different colours. Oh this is so exciting!

Happy sewing and I am off to bed.

Reference:
http://www.youtube.com/watch?v=E7ADk96d8Qc