
Remember the DIY scalloped peter pan collar that I mentioned in my post on Wednesday? In this post, I will share how to make it. Ready? Here we go...
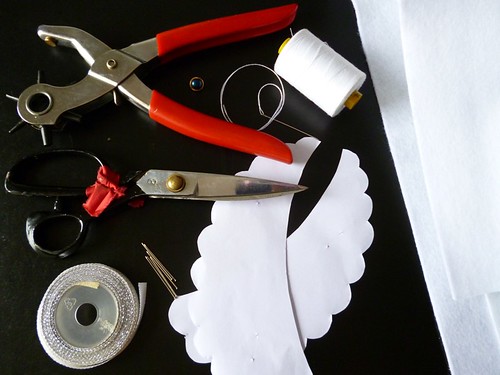
What you need:
Felt
Scissors
Ribbon
Button
Thread
Needle
Pins
Puncher
Template of the collar - click here to download. 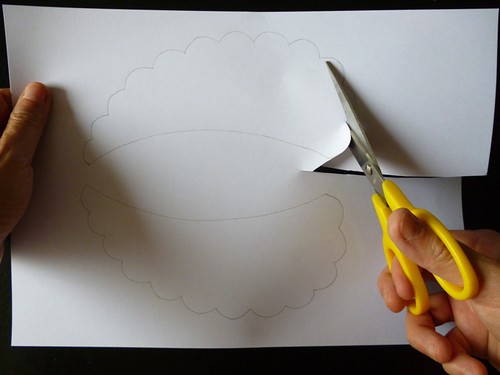

Place the templates on the felt and cut accordingly.

Using the puncher, punch holes in the center of each scallop on each collar piece.
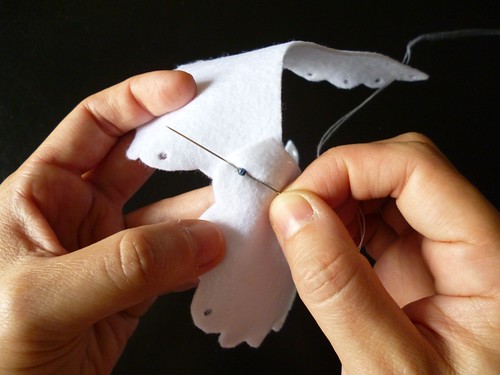
Overlap the wider ends of the collar in order for the first holes line up. Put the button over the aligning holes and stitch it in position from the back side.
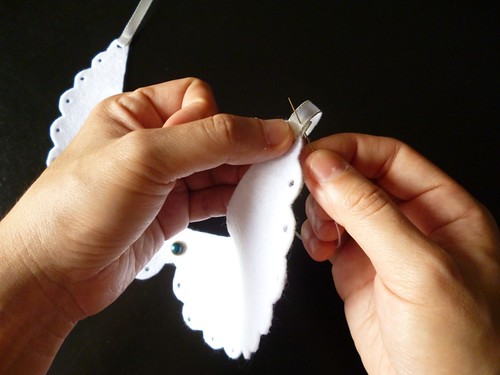
Thread one ribbon (at least 20 cm) through the last hole on the tapered end of one collar, fold the tip of the ribbon and stitch it. Another option is to use a glue gun, to glue the bit together. Repeat on the other collar.

In order to minimise fraying of the other end of the ribbon, paint nail polish (preferably transparent) on the tip.

Here is the finished collar.
Happy Friday and have a good weekend.
Reference:
Lucky, November 2011


Lovey darling! you are so talented! followed back ;)
ReplyDeleteFashionspot.ro