Showing posts with label DIY. Show all posts

Saturday, November 11, 2017

diy post: fixing bag's handles with twilly scraves

What would you do when the handles of your bag are cracked but its body is still in good condition? To throw or to do anything to salvage it? Whislt my bag is not an expensive bag but to throw it away just because of the handles seems to be a waste.
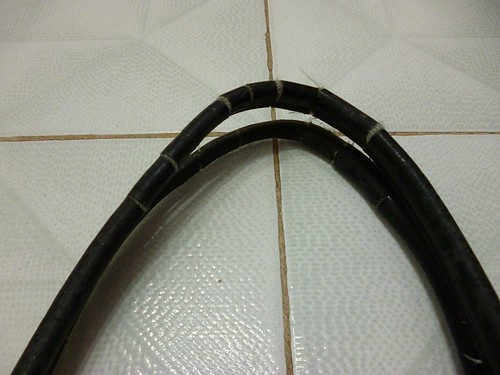
bag handles


Then I remember how Hermés twilly scarves are wrapped around the bags' handles. Why not? This seemed like a good idea and this inspired me to do the same with my bag.I got this bag in a flea market many years back in Kuala Lumpur. It was a pre-loved bag and I bought it for RM10.


Instead of buying fabric, I used a rectangular long scarf for this project which costs HKD20. So this is a cheap and fast fix. Here goes...
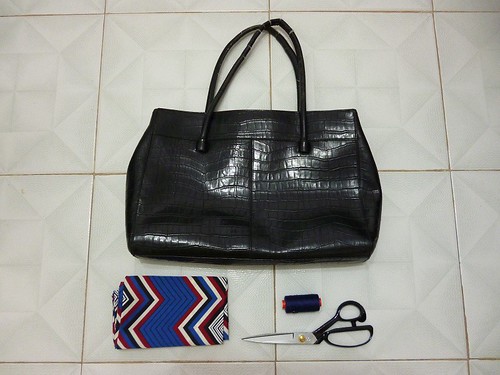
what you need

What you need:

Fabric or in my case rectangular long scraf
A pair of scissors
Thread
Needle
Chalk (not in this photo)
Ruler (not in this photo)
Sewing machine (not in this photo)
and not forgotting the bag 
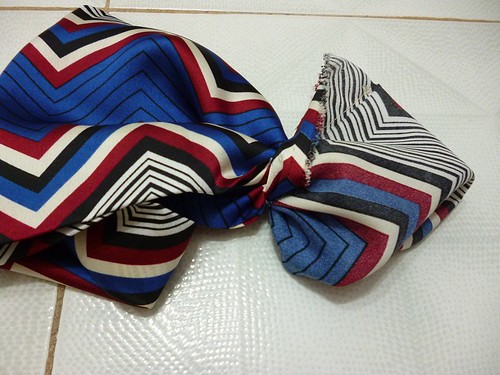
1 a close up

Rip a seam open for about an inch to an inch and half at one of the end. Then turn the right side into wrong side through the opening. 
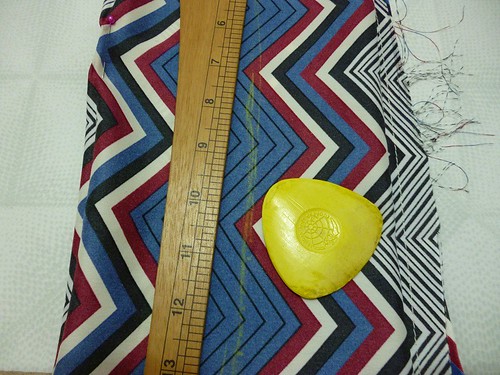
2 a close up

Find the middle point of the scarf and draw a line with chalk
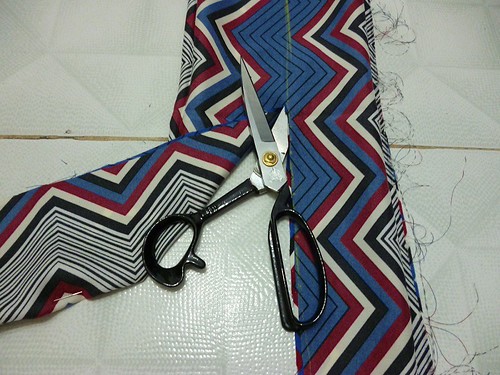
3 cut into two

Cut along the line

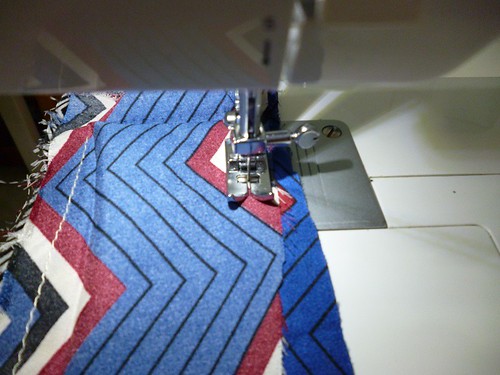
4 sew seam
Sew the seams and remember to leave an opening. The opening is used to turn the wrong side to the right side. Once this is done, hand stitch the opening.

5.1 wrap the handle

Now, let's get the handles wrap! Not sure how to, just search videos on Youtube.Click here to check one of the videos.
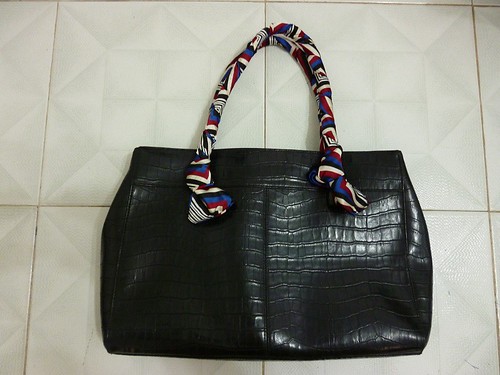
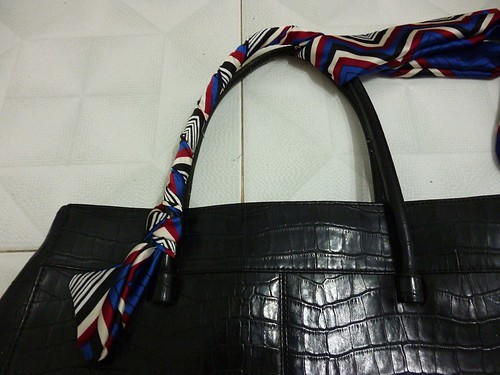
6 finished
The finished product

My bag has been successfully salvaged! What do you think?

Hope you are enjoying the weekend. Till my next post, stay chic!

Sunday, January 18, 2015

fashion project: diy beaded collar top

I am happy to start working on some DIY fashion projects again. So, here is the first fashion project of the year; a DIY beaded collar top. This is a relative easy fashion project especially for those who know how to sew with a needle. And you can do this whilst watching the telly or listening to the radio (multi-tasking is good, no?)


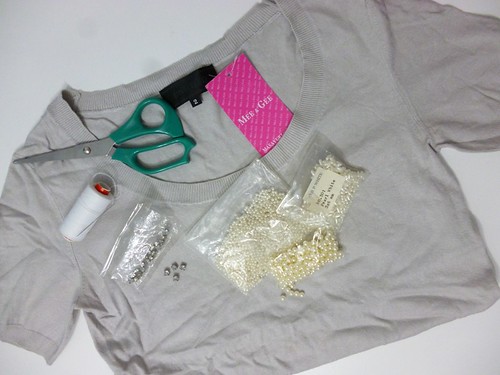
what you need

What you will need: 

Various sizes of faux pearls/beads
Sequins (recommended)
Crystals (optional)
A pair of scissors 
Thread
Needle
A top 

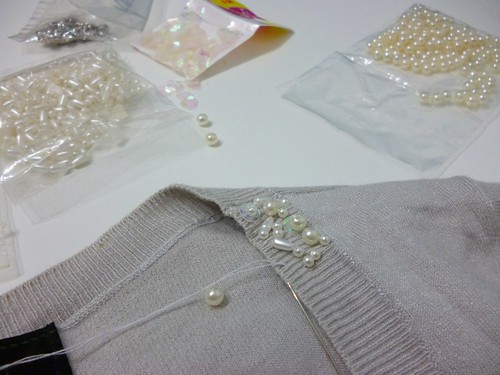
beading

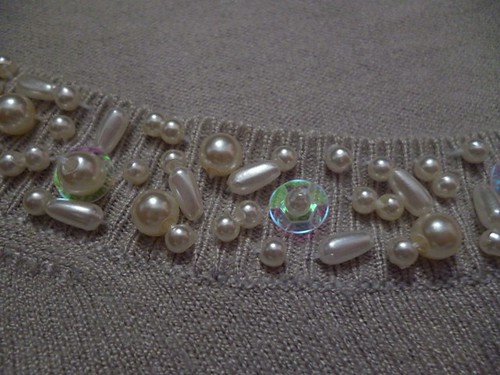
This is a random beads pattern, hence sew or bead as you like.

beads

Here is a close-up on the beads.

finished  collar

The finished collar!

What do you think of this project? Easy peasy? Hope you will give it a try.

Happy trying and till the next entry, stay chic!


Wednesday, January 2, 2013

fashion project: brooch of interest

Here is the first fashion project for 2013. A simple project; brooch of interest. Why it is called brooch of interest? Well, you can decorate the pin / brooch with the charms you like. In my case, I love sewing so I have a sewing machine, a pair of scissors and a tiny bit of measuring tape charms.

Here is how to make the brooch...

what u need

You will need: 

Pin / Brooch 
Small rings
Charms 
Plier
Ribbon
Lace
Safety pin 
Thread
Needle


1

Using the small rings, loop it to the each desired charms.

2

Attach these charms to the pin / brooch and secure them using pliers.

3

Make two bows using ribbon and lace and stitch the ribbon on top of the lace bow.

4

Attach the bows onto the pin / brooch.

5

This is optional step. As I find the actual pin / brooch causes an obvious hole when pinning onto clothes, I have decided to add a safety pin on the back of the pin / brooch.

finished product

Ta da... this is the finished pin / brooch. 

What do you think of this project? Pretty simple, right? You can make this as a gift too as long as you know what your friends fancy. 

Happy trying!

Friday, May 25, 2012

fashion project: lace applique collar

stained collar

Accidents do happen even during laundering. In my case, somehow one of white thrifted white blouses was stained with colour on its collar. I could either dye the blouse or to fix the collar. And I chose the latter by sewing some laces on the collar - lace applique.

what u need

What you need:

Corded lace
Scissors
Thread
Needle
Nail polish (transparent)
Pins

1 cut lace
Cut out desired motives from the lace

2 apply nail polish
Apply nail polish around the cut lace to avoid fraying

3 pin cut lace
Once the pieces have dried, place and pin the pieces onto the collar

4 stitch lace
Stitch the pieces of cut lace onto the collar

finished
Finished collar

front collar
Close-up of front collar

back collar
Close-up of back collar

I am still contemplating whether I should embellish the collar or should I leave it as it is. To me the collar or the blouse looks rather dull and the stains are not fully covered. Hhhmm...

Anyway, hope this project would help anyone who wants to cover stains on the collar or to give a fresh new look to any pieces.

Have a lovely weekend!

Friday, April 20, 2012

fashion project: old top, new look

Bored with the same old top and wanted to give it a second life? This little project might be for you. I have decided to chop off some length and detach the sleeves to give one of my vintage tops a whole new and fresh look. Ready? Here we go...

what u need

What you need:

A top
Scissors
Pins
Seam ripper
Thread
Measuring tape
Tailoring chalk (not in the above photo)
Tracing paper (not in the above photo)
Tracer (not in the above photo)
Sewing machine

1 detach sleeves
Reverse the top from right side to wrong side. Detach the sleeves using seam ripper.


2 measure
Using measuring tape, measure how much allowance to take in on the shoulder. In my case, it is 1 inch. This step is optional, ignore this step if the shoulder fits well.


3 draw arm hole line
Draw new armhole line following the old line using tailoring chalk.


4 trace line
For the other side, use tracing paper and tracer to mark stitching line.


5 side seams
As the top is slightly big for me, I reduce side seams by marking new seams.


6 bottom of top

Mark new length for the top. Remember to leave about 1.5 inches as allowance.

7 trim allowances
Leave about 1.5 cm allowance and cut the excess fabric.


8 trim bottom
Cut excess fabric on the bottom of the top.


9 pin side seam
Cut excess fabric on the side seams and pin on the marked line.


10 sew side seam
Following the marked line and pins, sew accordingly.

11 pin arm hole
Fold allowance on an arm hole and pin accordingly based on the marked line.

12 sew arm hole
Sew accordingly on both arm holes.

13 sew bottom
Repeat for the bottom part


finished top 
'New' top

Here is the finished top. Looks good, no? I can't wait to wear it. Hope this little project helps you in anyway and do drop me an email if you have questions in regards to this project. 

Have a great weekend everyone!

Friday, October 28, 2011

not a fashion project

Hope everyone is doing well. Sorry that I have not been making any entries lately. There were so many distractions, mainly after work outings with fellow colleagues. Now, I hoping to post entry as usual.

As you all might know that I am in the middle of decorating my bedroom. The theme of my bedroom is romantic French style; which most of the furniture is in white or ivory colour with a touch of shabbiness or distressed look. This was my first attempt to paint my bed frame to achieve shabby or distressed look.


Bed frame

Items needed

I have been searching for paint instructions online and I purchased a book on painting on wood but I received a good tip from decorative artist of Creative Cottage, Mr. Zahir, on how to achieve this look easily. He advised me to use dry brush painting. Before going into how to paint such effect, you would need the following items for this project:

White paint (for wood)
Hard brush (preferably old brush)
Turpentine (to wash brush)
Plastic cover (optional to cover any items)


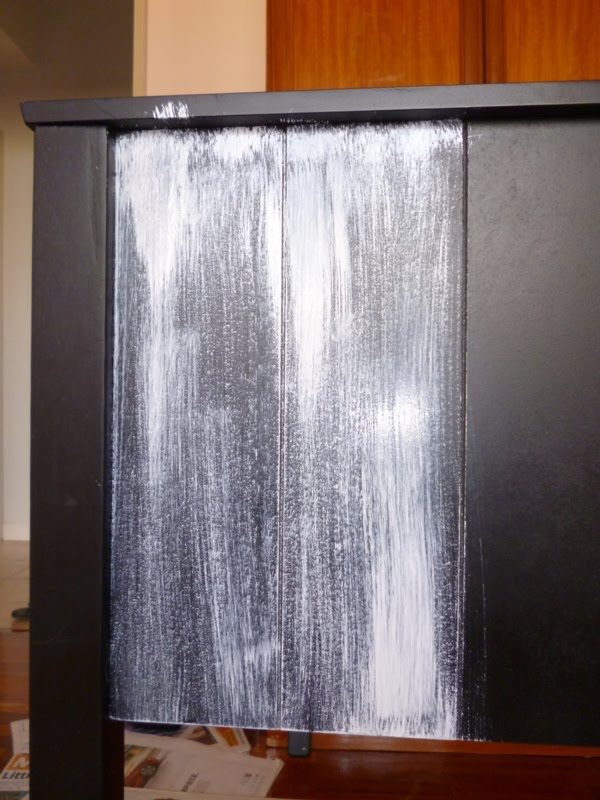
Before actual painting, I dipped the brush into the paint and then brushed off excessive paint either on the opening rim of the paint or on a piece of newspaper. At the same time, it gave you some practice before the actual painting.

The key of this technique is that the brush needs to be almost dry. And in my opinion, there is no need any particular experience painting to try to paint this effect. Furthermore, there is no hard and fast rule here as long as the shabbiness or distressed look is achieved.


Here is a sneak peek... What do you think?

Tuesday, August 2, 2011

Fashion Project: fixing a brooch the old fashioned way


One of the flower brooches that I bought from etsy was sort of faulty, without any secure pin. I knew this prior to the purchase but it is such a lovely piece that I thought to myself perhaps it can be fixed.


What you will need:

A tiny piece of felt material
A safety pin
A pair of scissors
Thread
Needle


Firstly, cut out a tiny piece of felt material and wrap around the tiny bar-like bit. Stitch the felt piece together. Then stitch the pin on the felt bit. To secure the position of the pin, stitch the head and the loop bit of the pin onto the back of the brooch as shown.

Though the fixing was not done professionally, at least it would give the brooch a second life. If you have a glue gun, you can use it to glue the pin. The way I shared here is for those who do not have glue gun. Perhaps I should invest one as it might come handy one of these days.